
Last Updated on September 27, 2024 by Silvy
How to Paint a Wall Step-by-Step: A Complete Guide for Beginners
Painting walls can seem like a daunting task, but with the right steps and materials, anyone can achieve professional-looking results.
If you’re aiming to paint a wall perfectly, this guide will walk you through each phase—ensuring you avoid common mistakes while keeping your project efficient.
Essential Materials for Painting Walls
Before you begin, you’ll need to gather the following tools and materials to guarantee a smooth painting process:
- Spackle (to fill holes)
- Spackle knife
- Sandpaper
- Tack cloth
- Primer (if necessary)
- Painter’s tape
- Drop cloths or plastic covers
- Paintbrushes
- Shedless rollers
- Paint tray
- High-quality paint
Step 1: Prep the Wall for Painting
The key to a flawless paint job lies in the preparation. To achieve even, smooth results, follow these steps:
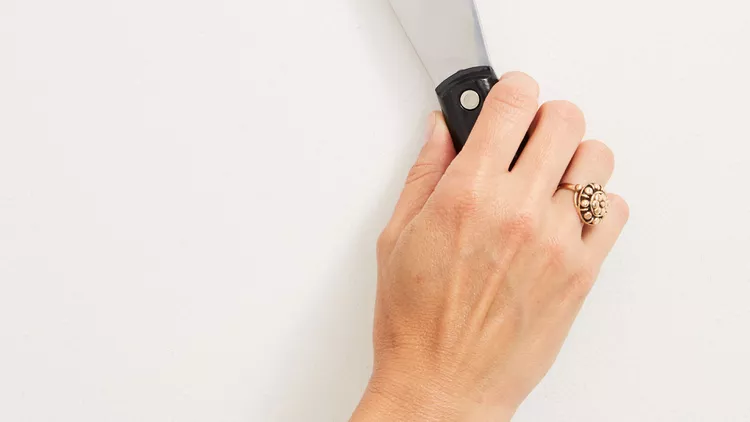
Inspect for Cracks, Holes, and Stains
Before painting, examine the walls for imperfections like cracks or holes. Any damaged areas should be repaired using spackle and sanded down to ensure a smooth surface.
According to Chris Richter, a paint expert, repairing these areas early ensures the paint adheres properly and looks even.
Sanding Patched Areas
If you’ve filled any holes, be sure to sand the spackled spots once dry. Un-sanded areas can lead to bumps or ridges once painted, which can spoil the look of your wall. After sanding, use a tack cloth to wipe away any dust.
If your wall requires extensive repairs, priming is recommended. However, for most walls, priming isn’t mandatory unless the wall is stained or has a rough texture.
Clean Any Marks or Stains
For walls with visible marks, use a household cleaner to wipe down the surface. Grease or stubborn stains might require a trisodium phosphate cleaner. Keeping the surface clean will ensure the paint adheres evenly and smoothly.
Step 2: Protect and Prepare Surrounding Areas
Use painter’s tape to cover areas like baseboards, moldings, doorframes, and light switches. This step is crucial to prevent accidental paint smudges on unintended surfaces.
In addition, cover your floors and furniture with drop cloths or plastic sheets to protect them from spills or drips.

Step 3: Pour and Prep Your Paint
Once the walls are ready, it’s time to open the paint. Pour the paint into a tray for easy access, and use the ramp of the tray to evenly distribute the paint onto your roller.
If you’re working on a large project, consider using a roller screen with a 5-gallon bucket for maximum efficiency.
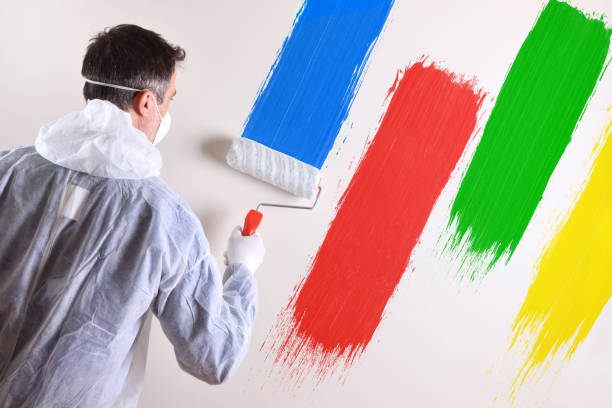
Step 4: Cut in with a Paintbrush
Cutting in refers to painting the edges and trim first using a brush. Start with the areas around your ceiling, baseboards, and corners.
Using a high-quality brush, like the Wooster Pro, will give you sharp, clean lines. Paint in smooth, even strokes to avoid streaks.
Step 5: Paint the Ceiling (Optional)
If you’re planning to paint the ceiling, do this step before tackling the walls. Painting from top to bottom ensures that drips from the ceiling don’t land on freshly painted walls.
Use the same method as for the walls—cutting in along the edges first and using a roller for the larger areas.
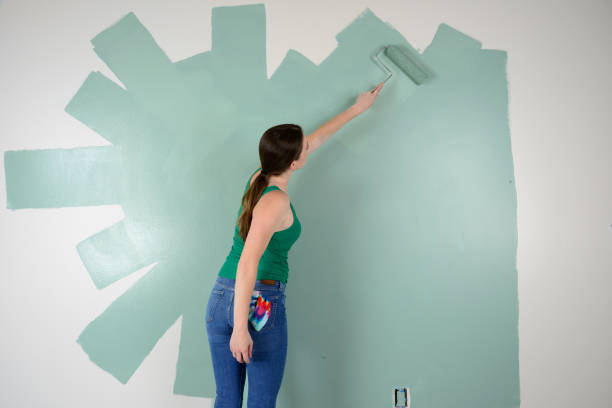
Step 6: Paint the Walls
Once you’ve cut in along the edges of the wall, it’s time to fill in the middle sections. Dip your roller into the tray and roll vertically from top to bottom, working in sections.
Make sure to maintain a wet edge as you paint. This technique involves painting new sections while the previous section is still wet, which prevents visible lines or streaks once dry.
Step 7: Maintain a Wet Edge
As mentioned, keeping a wet edge is critical when painting walls. By working in small, manageable sections and ensuring that the “cut-in” areas remain wet, you’ll avoid noticeable streaks or patches. Moving quickly and methodically will help you achieve a seamless finish.
Drying Time and Cleanup
After you’ve completed painting, it’s important to allow the paint to dry for at least two hours.
During this time, clean your tools thoroughly. Wash your brushes and rollers in warm water until the paint is completely removed.
Properly clean and store these tools to ensure they’re ready for your next project.
FAQs About Painting Walls
How do I avoid streaks when painting?
Avoid streaks by working in small sections and maintaining a wet edge. This ensures a consistent finish without visible brush or roller marks.
Do I need to prime my walls before painting?
Priming isn’t always necessary unless your wall is stained, heavily patched, or has a very rough texture. Spot-priming patched areas is often enough for most jobs.
How long should I wait before applying a second coat of paint?
Wait at least 2-4 hours before applying a second coat of paint. This ensures that the first layer is dry and won’t smudge or peel when you apply the next coat.

Conclusion: Achieve a Professional Finish on Your Walls
By following these step-by-step instructions, you’ll be well on your way to painting walls like a pro.
With proper preparation, the right tools, and careful attention to detail, even beginners can achieve a flawless finish. Whether you’re looking to freshen up your space or create a new look, painting is a cost-effective way to transform any room.
Take your time, work methodically, and enjoy the rewarding results of your hard work!
Reference Links